搭建环境
-
首先创建并启用一个conda环境
conda create -n yolov5 python=3.8 conda activate yolov5 -
创建pytorch环境
pip3 install torch==1.8.2 torchvision==0.9.2 torchaudio==0.8.2 --extra-index-url https://download.pytorch.org/whl/lts/1.8/cu111 -
下载YOLOv5源代码
去github仓库下载7.0版本
-
修改requirements.txt文件
只需要修改下述行
numpy==1.20.3
Pillow==8.3.0
# torch>=1.7.0  # see https://pytorch.org/get-started/locally (recommended)
# torchvision>=0.8.1
然后安装requirements中的库
pip install -r requirements.txt -
测试环境
python detect.py显示类似如下说明安装成功
YOLOv5  2022-11-22 Python-3.8.19 torch-1.8.2+cu111 CUDA:0 (NVIDIA GeForce RTX 2060, 6144MiB)

Fusing layers...
YOLOv5s summary: 213 layers, 7225885 parameters, 0 gradients, 16.4 GFLOPs
image 1/2 D:\OneDrive\\yolov5-7.0\data\images\bus.jpg: 640x480 4 persons, 1 bus, 23.0ms
image 2/2 D:\OneDrive\\yolov5-7.0\data\images\zidane.jpg: 384x640 2 persons, 2 ties, 25.0ms
Speed: 1.0ms pre-process, 24.0ms inference, 3.5ms NMS per image at shape (1, 3, 640, 640)
Results saved to runs\detect\exp9
测试现有模型
-
先对detect中的重要参数进行相应解释
parser.add_argument('--weights', nargs='+', type=str, default=ROOT / 'yolov5s.pt', help='model path or triton URL') # 训练权重的路径 parser.add_argument('--source', type=str, default=ROOT / 'data/images', help='file/dir/URL/glob/screen/0(webcam)') # 检测的目标,比如图片、视频、屏幕、摄像头、路径等 parser.add_argument('--data', type=str, default=ROOT / 'data/coco128.yaml', help='(optional) dataset.yaml path') # 配置文件的路径 parser.add_argument('--imgsz', '--img', '--img-size', nargs='+', type=int, default=[640], help='inference size h,w') #图片的size parser.add_argument('--conf-thres', type=float, default=0.25, help='confidence threshold') # 置信度阈值,低于这个阈值的框不显示 parser.add_argument('--iou-thres', type=float, default=0.45, help='NMS IoU threshold') # IOU阈值,越低框越少 -
基于torch.hub的检测方法
import torch
model = torch.hub.load("./", "yolov5s", source='local')		# local表示加载本地模型
img = "./data/images/zidane.jpg"
results = model(img)
results.show()
构建数据集
-
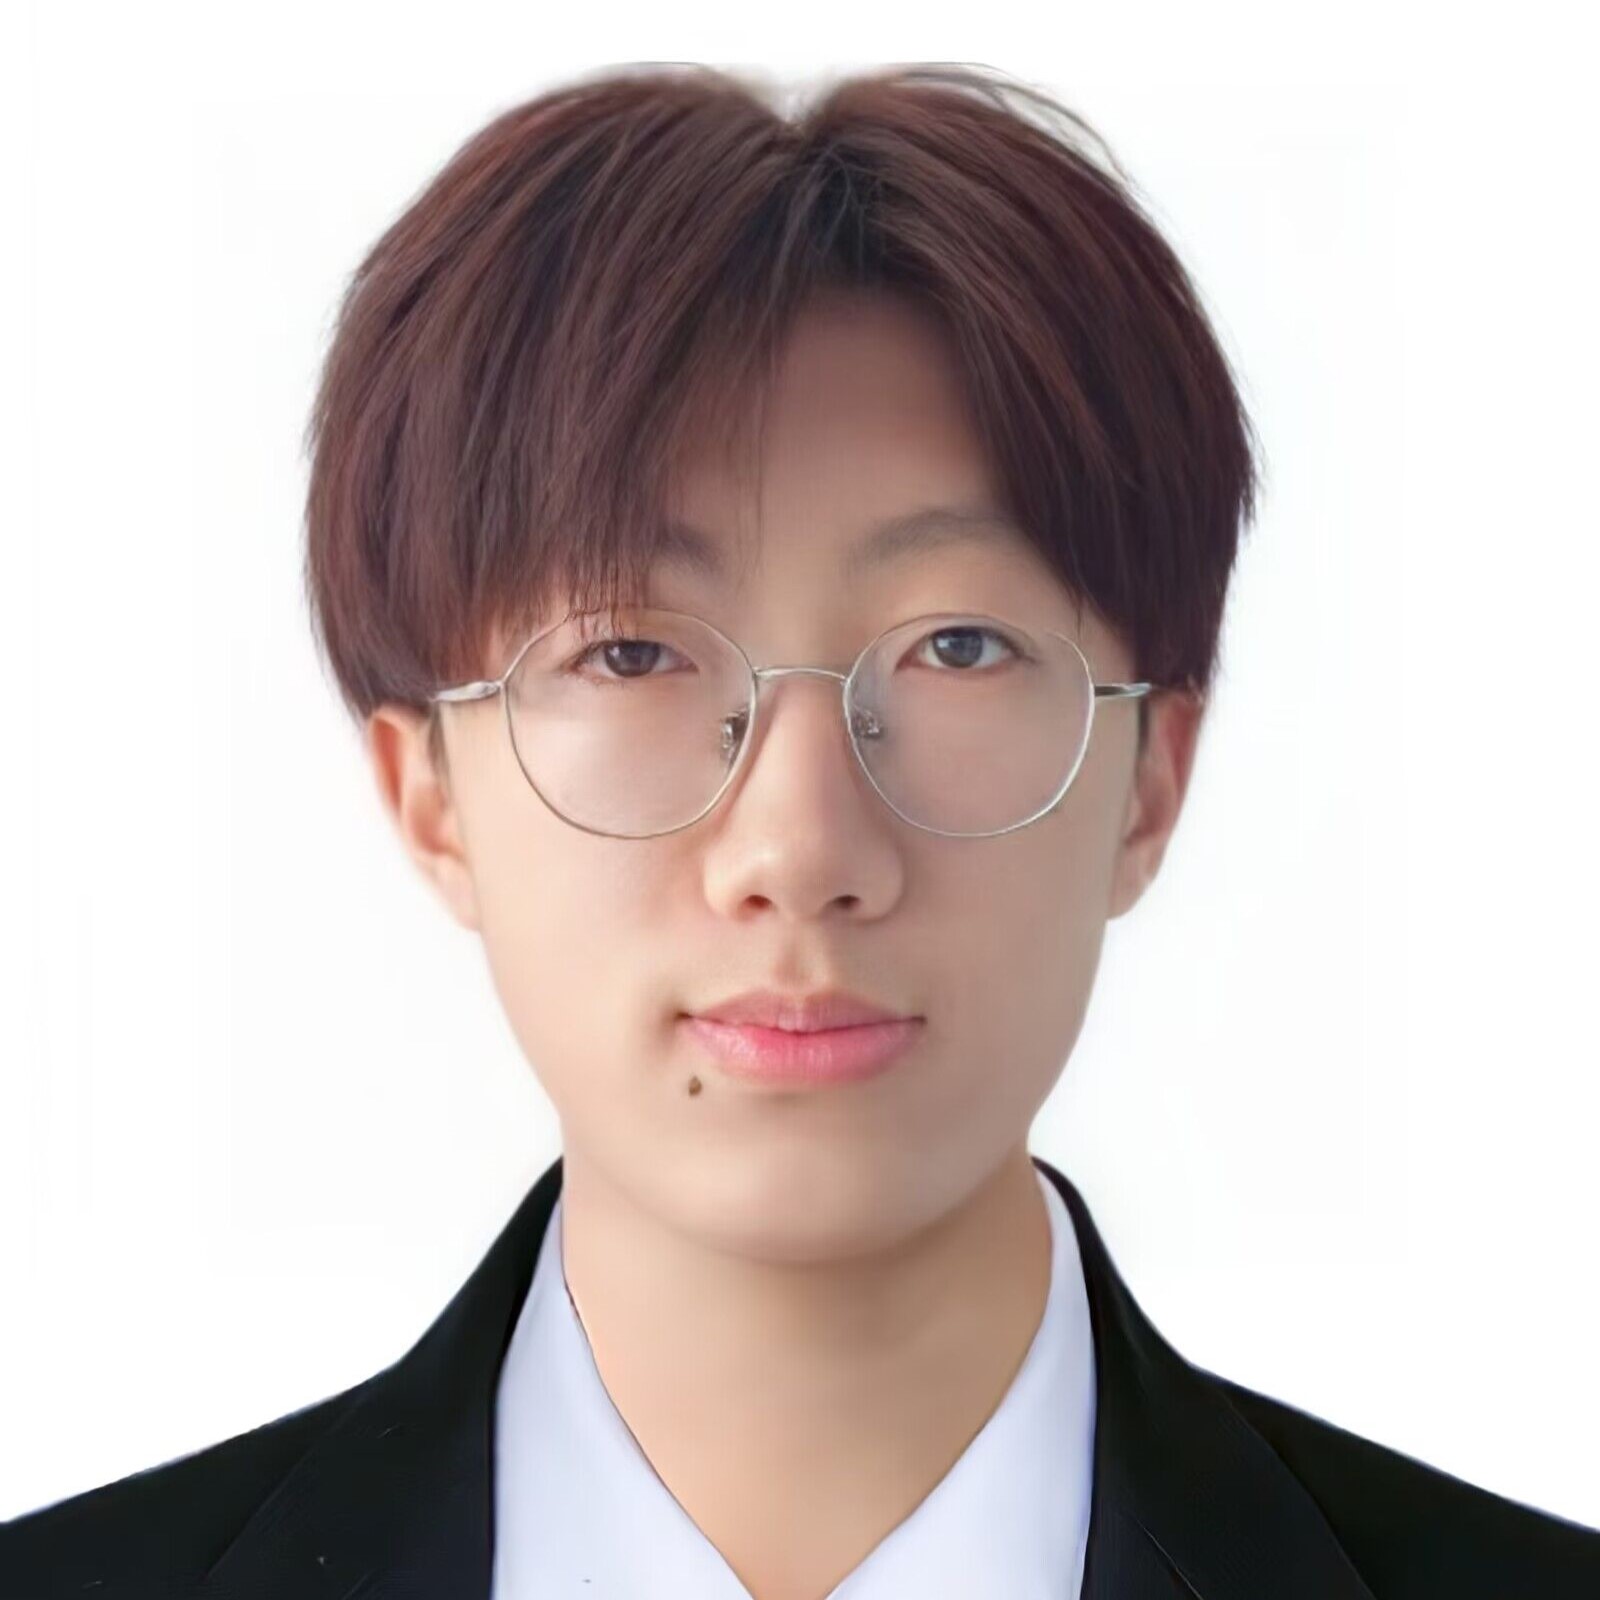
数据收集,针对视频进行抽帧的收集
import cv2 import matplotlib.pyplot as plt video = cv.VideoCapture("./BVN.mp4") num = 0 save_step = 30 # 间隔多少帧取图片 while True: ret, frame = video.read() if not ret: break num += 1 if num % save_step == 0: cv2.imwrite("./images/" + str(num) + ".jpg", frame) -
通过labelimg进行标注
- 首先进行安装
pip install labelimg-
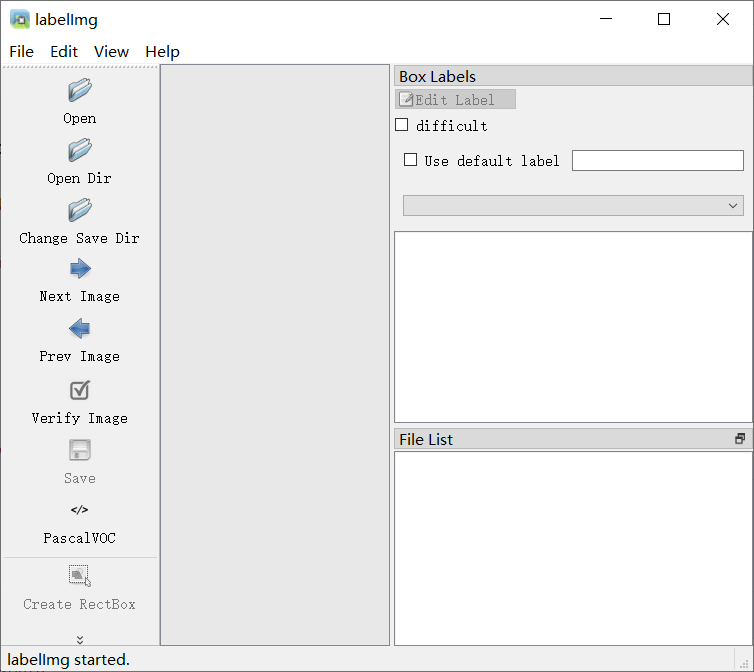
启动labelimg:在终端输入labelimg即可
-
首先通过Open Dir打开需要标注的图片的文件夹,然后在弹框中选择保存label的文件夹(一般新建一个与img同级的文件夹)
-
将保存格式改为YOLO
-
在view下打开auto save mode可以自动保存
-
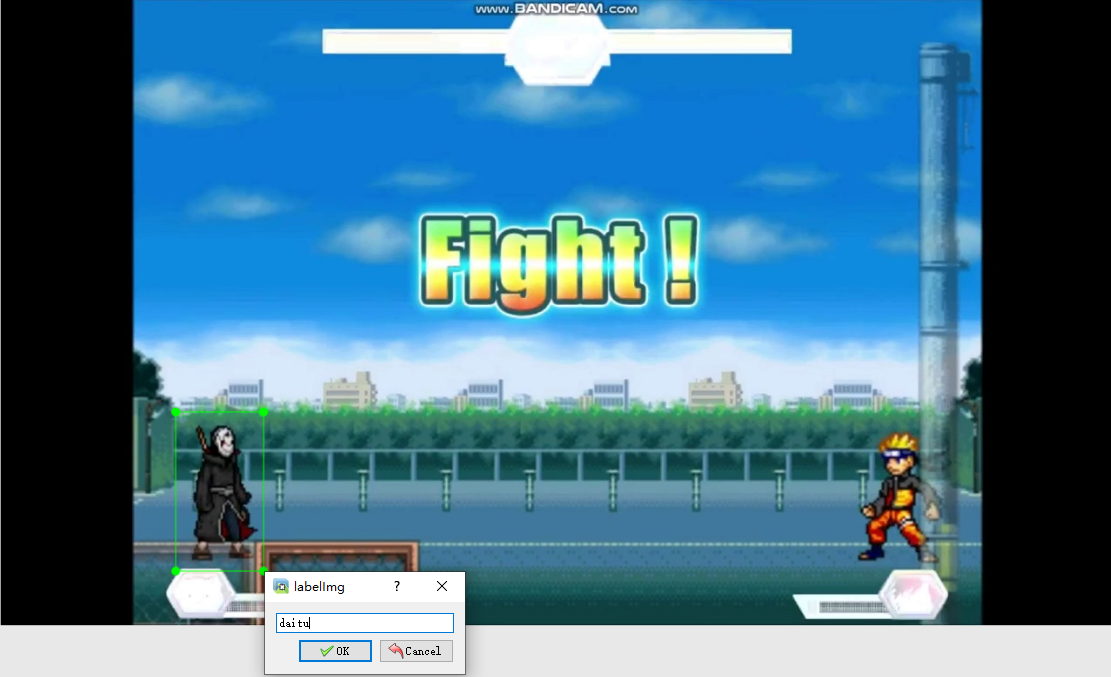
在图中右键选择create rectbox进行标注

标注结果如下图
-
最后对数据进行整理如如下格式方便后续操作
images: train: val: labels: train: val: -
还可通过make sense进行标注
-
下载公开数据集可以去roboflow网站
https://roboflow.com/
模型训练
-
关键参数
-
weights:预训练的权重文件
-
data:数据集配置文件,例子如下
path: ./datasets  # dataset root dir
train: images/train  # train images (relative to 'path') 128 images
val: images/val  # val images (relative to 'path') 128 images
test:  # test images (optional)

# Classes
names:
  0: daitu
  1: mingren
-
-
执行train.py文件进行训练,需要指定weights,data,batch_size等参数
可能出现的问题:
- cuda out of memory:减小batch_size
- 页面文件太小,无法完成操作:通过减小workers参数,以及修改虚拟内存的方式
-
训练结果
- weights中存有best和last两个权重,分别是训练中最好的模型和最后一次迭代的模型权重
- 还有很多其他的图,在此不赘述
-
通过tensorboard查看指标的变换
tensorboard --logdir runs
评价指标
mAP@0.5:在 IOU(Intersection over Union)阈值为 0.5 时的mAP
IOU:交并比,预测框和真实框的交集面积与它们的并集面积之比
mAP:mean Average Precision,平均精度均值
AP是Precision-Recall Curve(PRC)下面的面积,其中Precision表示预测为证类别中实际为正类别的比例,Recall表示所有正类别样本中杯正确预测的比例。